Getting Great Photos on Wall Dives
Aug 31
A good photographer is able to create nice images no matter the dive site, whether it’s silty muck, beautiful coral reef, cold and dark or a drift dive. This, of course, takes much practice but also the right techniques for the conditions.
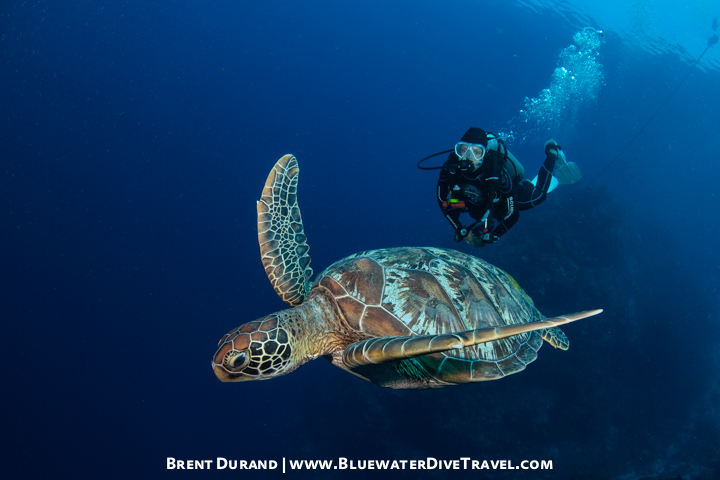
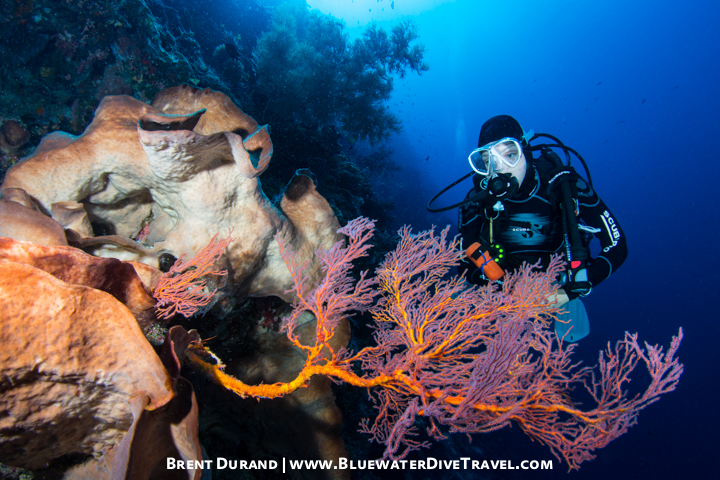
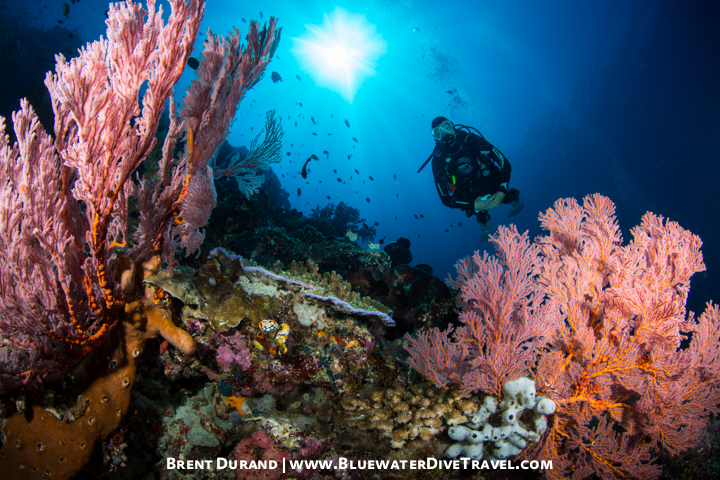
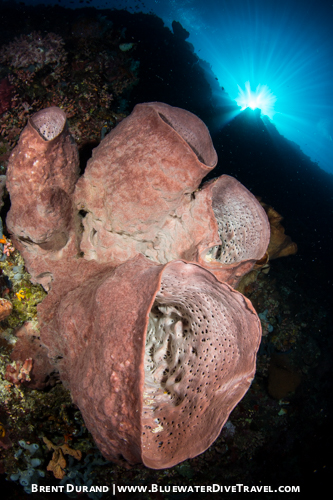
Today we look at some tips for big wall dives. I made two wall dives today in Bunaken, Indonesia. Walls are unique in the sense that photo composition must come from the side – not the bottom like on most reef dives. There can also be current to contend with, so make sure to check out our Essential Drift Diving Photo Tips.
Photo Tip #1
Master your Buoyancy. Safety always comes first when diving. If you haven’t made a “bottomless” dive, then it’s best to make your first dives without a distracting camera. It’s easy to forget about your depth when absorbed in photographing a passing subject.
Photo Tip #2
Look ahead. This becomes more critical as current increases, because you’ll only have a short period of time to compose your photo. As you approach your foreground, try to think ahead about camera settings and strobe position needed for proper lighting. The more you previsualize your photo, the better the results will be.

Photo Tip #3

Photo tip #4

Brent Durand is currently in Manado, Indonesia creating daily photo and video dive reports, photo tips, travel tips and more for the Best of Southeast Asia tour over the next 6 weeks.


Related Articles
Popular Articles