


Nauticam GH4 underwater video footage & settings
Nauticam GH4 underwater video footage & settings
Nov 11
Bluewater Photo recently took some underwater video in the Channel Islands, Southern California with the new Nauticam GH4 underwater housing and the Panasonic GH4 camera. Lenses used were the Panasonic 7-14mm F4, Olympus 60mm macro lens and the Olympus 12-50mm lens.
We think the footage looks great, check it out. Bobby Arnold shot the video and he did a great job. We’ll be performing some further tests underwater shooting at different frame rates so you can see the difference, and testing the focus tracking – so stay tuned!
Nauticam GH4 video settings
- Light & Motion dual video lights were used
- GH4 Video was shot in UHD (3840×2160, basically 4x 1080p) – this the future standard for (ultra high def) television
- 4k adds extra pixels on each side to create a 16:10 aspect ratio. This is the future standard for movie theaters.
- An Mp4 video format was used. For UHD/4K, mov and mp4 are your only options and they the same codec with different wrappers. Both have a bitrate that peak at 100 Mb/s
- 4k/UHD is limited to 24-30fps
Panasonic GH4 – other options to consider. Special thanks to Bobby Arnold for this information.
- Codecs – 200Mbs all-intra codec is a very uncompressed codec that allows for a lot of latitude in post production. For underwater this setting can be beneficial if you want to do a lot of color grading, apply LUTs etc.
- The most useful setting for U/W is the 96fps setting which creates great slow-motion and automatically converts the footage to slow-motion 24 or 30fps in camera. You can also vary the frame rate all they way down to 2fps to create timelapse videos.
- Additionally there is a timelapse setting that will also create your timelapse video, up to 4k, in camera
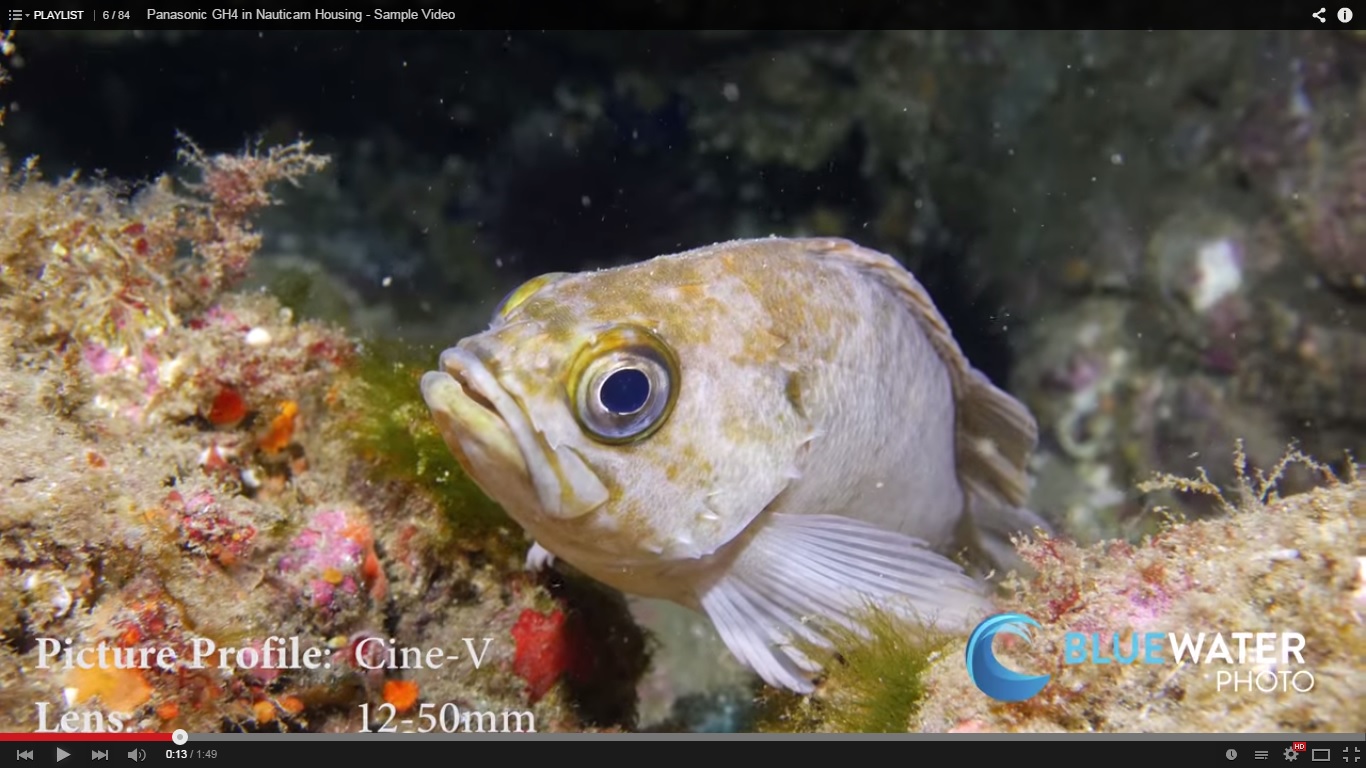
- Picture mode – There’s a lot of debate about which “picture mode” to use with the GH4; We use the Cine-V profile to get vibrant colors, but not too much extra processing so I have some flexibility in post. Many professionals are promoting the use of the Cine-D which creates a more RAW-like image that requires more work in post. I’d rather spend my time creating something interesting to watch versus trying to get a great looking picture. The GH4 does a excellent job, let the camera do the work and you can concentrate on composition and telling the story.


Related Articles
Popular Articles